Painting Your Rawhide Drum
Puting your own artwork on your drum or rattle makes it truly yours. Rawhide has some properties that are different from paper or canvas, so here’s some tips.
Rawhide has a property of soaking in moisture readily, this means that paint applied to the surface dries very quickly and can leave brush strokes. We get around that by applying several thin layers instead of trying to color it all at once. It also makes blending a little more difficult, as you don’t have much time. I generally do much of my blending on my palate and work quickly on the drum. Drums can be painted or colored with anything that is not oil based (oils take an excessive time to dry and smear for a very long time).
Many people paint their drums with artist acrylic, available at any art supply or craft store. This gives great results, but acrylic paint scratches off the rawhide surface easily, so it needs to be sealed after it is dry with an artist’s matte fixative or equivalent. It is not easy to correct mistakes, unless it is washed off within seconds, the paint needs to be scraped off and can leave scratches behind.
Here at Gaia”s Workshop, we use Testor’s Enamel Model Paint (Luke is a master model builder, so we have tried a number of different paints). It is quite durable and has the added bonus of being scaled for models and having a very small pigment size, so it is easier to put on thin coats. Another advantage of this paint is that you can remove any mistakes you make with Enamel Thinner, leaving a clean surface to try again.
Hide takes dyes readily, so if you are making a drum or rattle kit and want to color your head, a teaspoon to tablespoon of Rit or other dye with a like amount of vinegar and enough cool water to cover will dye your hide within a couple hours. Agitate frequently as it can get blotchy if just left to lay.
Inks work extremely well on drum heads, they soak into the rawhide and become so permanent that the drum can be completely soaked and remade without affecting the art. This also means error correction is difficult, some inks are alcohol soluble but you would have to experiment. Never use a sealer on inks, many of them will run even if dry. Sharpies fall under this category as well.
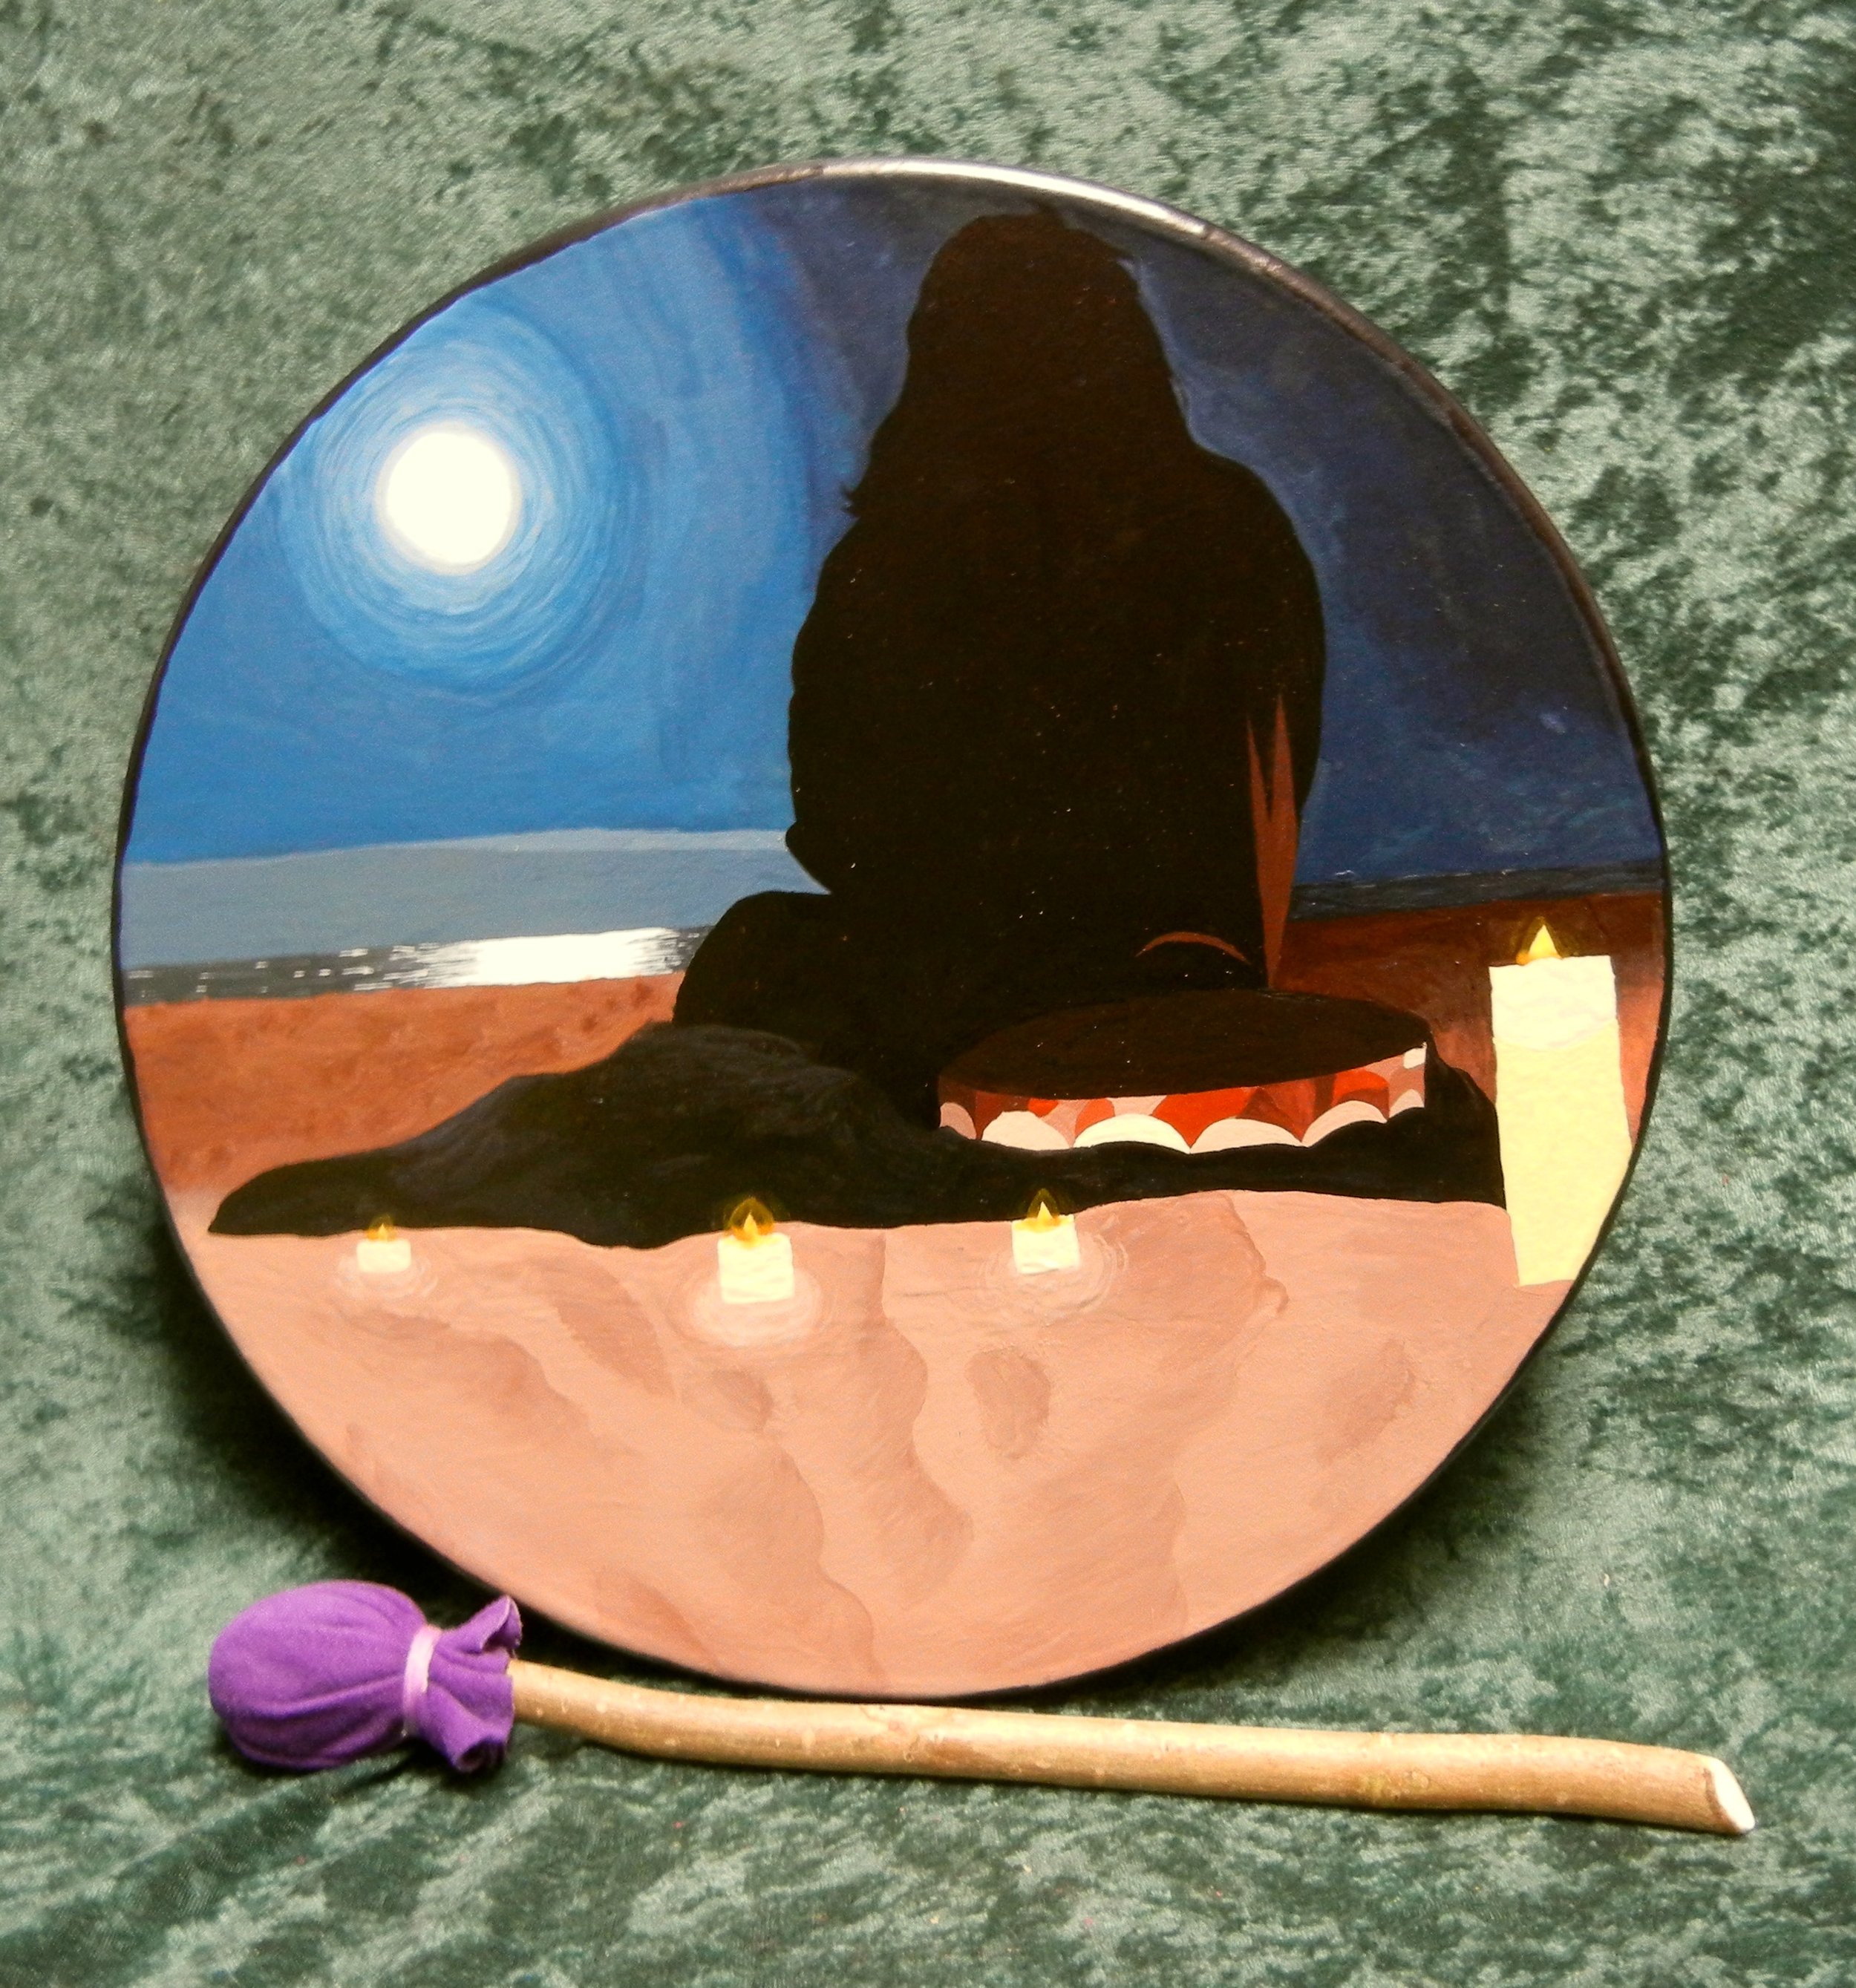
We use natural pigments like Red Ochre mixed with plain shellac, and get lovely results. The amount to use depends on the thickness of paint you want, add a bit of pigment to a small amount of shellac & stir well until you get the consistency you want. The shellac can be removed with alcohol, so error correction is possible (it is not easy to remove every bit of pigment, however). One of the properties that shellac has is that it rewets itself; this can give you lovely effects when using two different types of natural pigment as you will get blending of the two colors where they overlap, even if the first color is dry.
Even Henna works on drums, but this is also best done while the drum is still wet.
I have even seen drums decorated with colored pencils, watercolors and watercolor pastel, though I have no personal experience with these.
Enjoy your drum and make it beautifully yours!
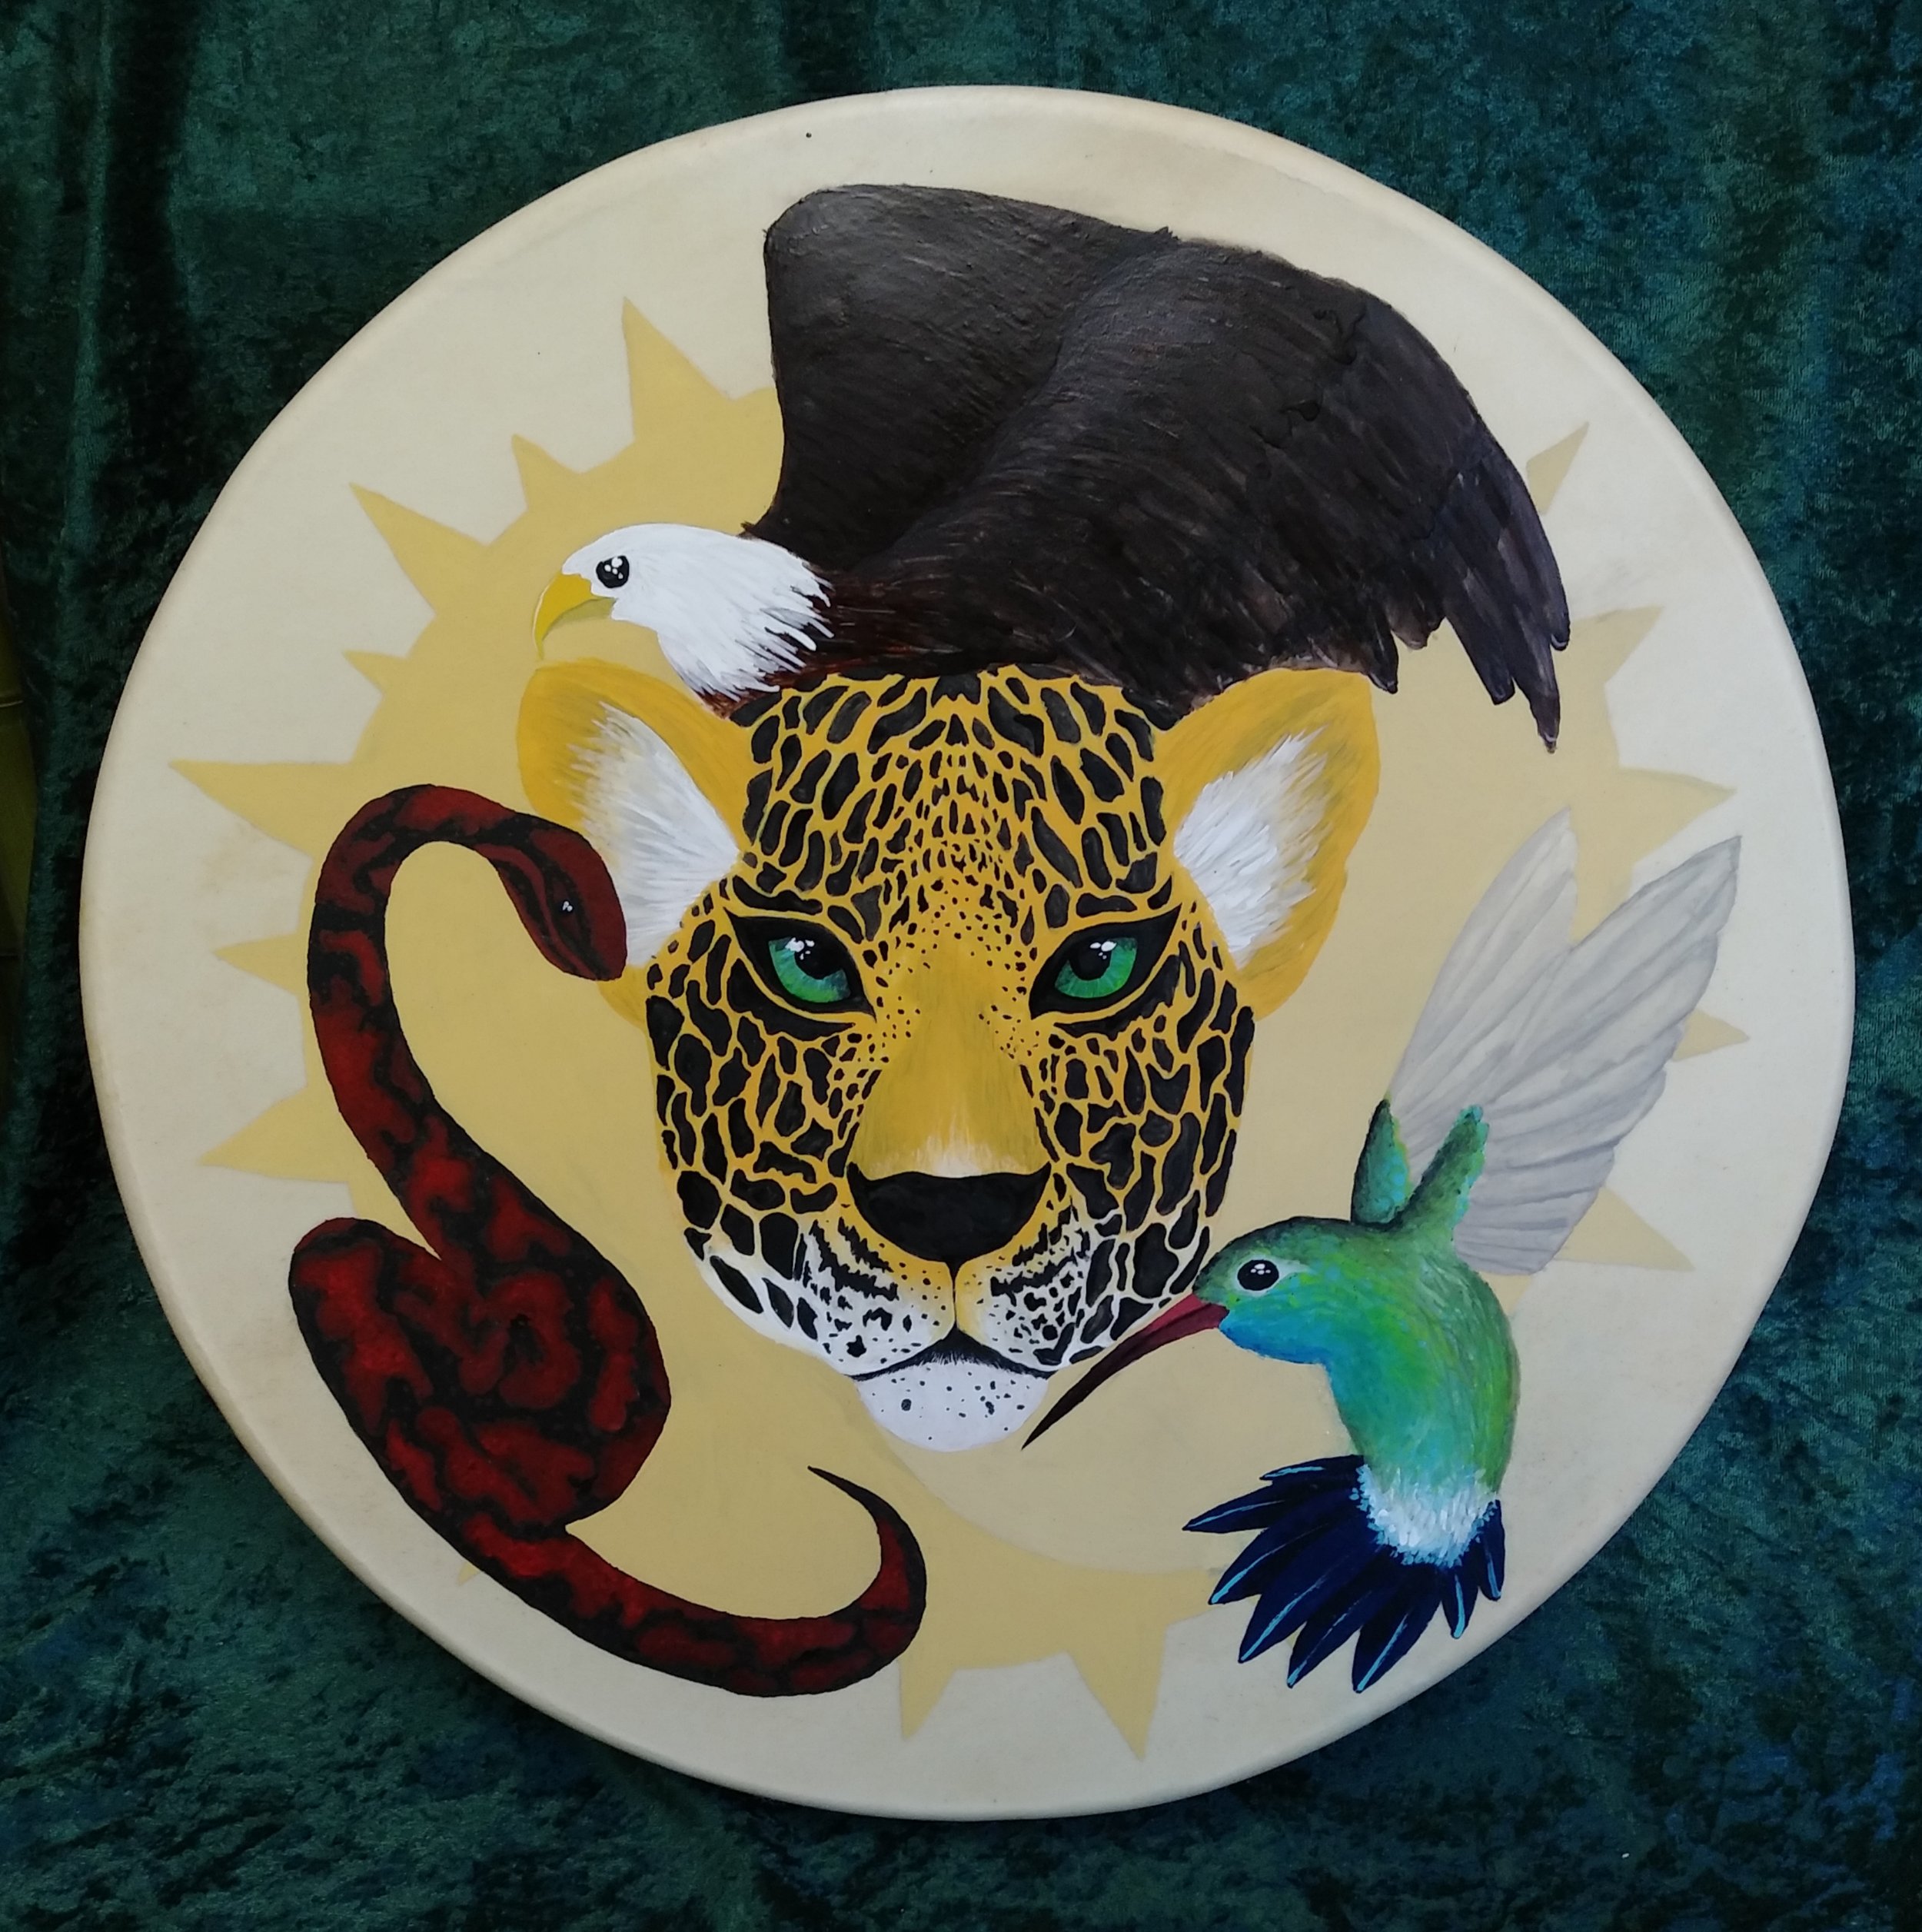
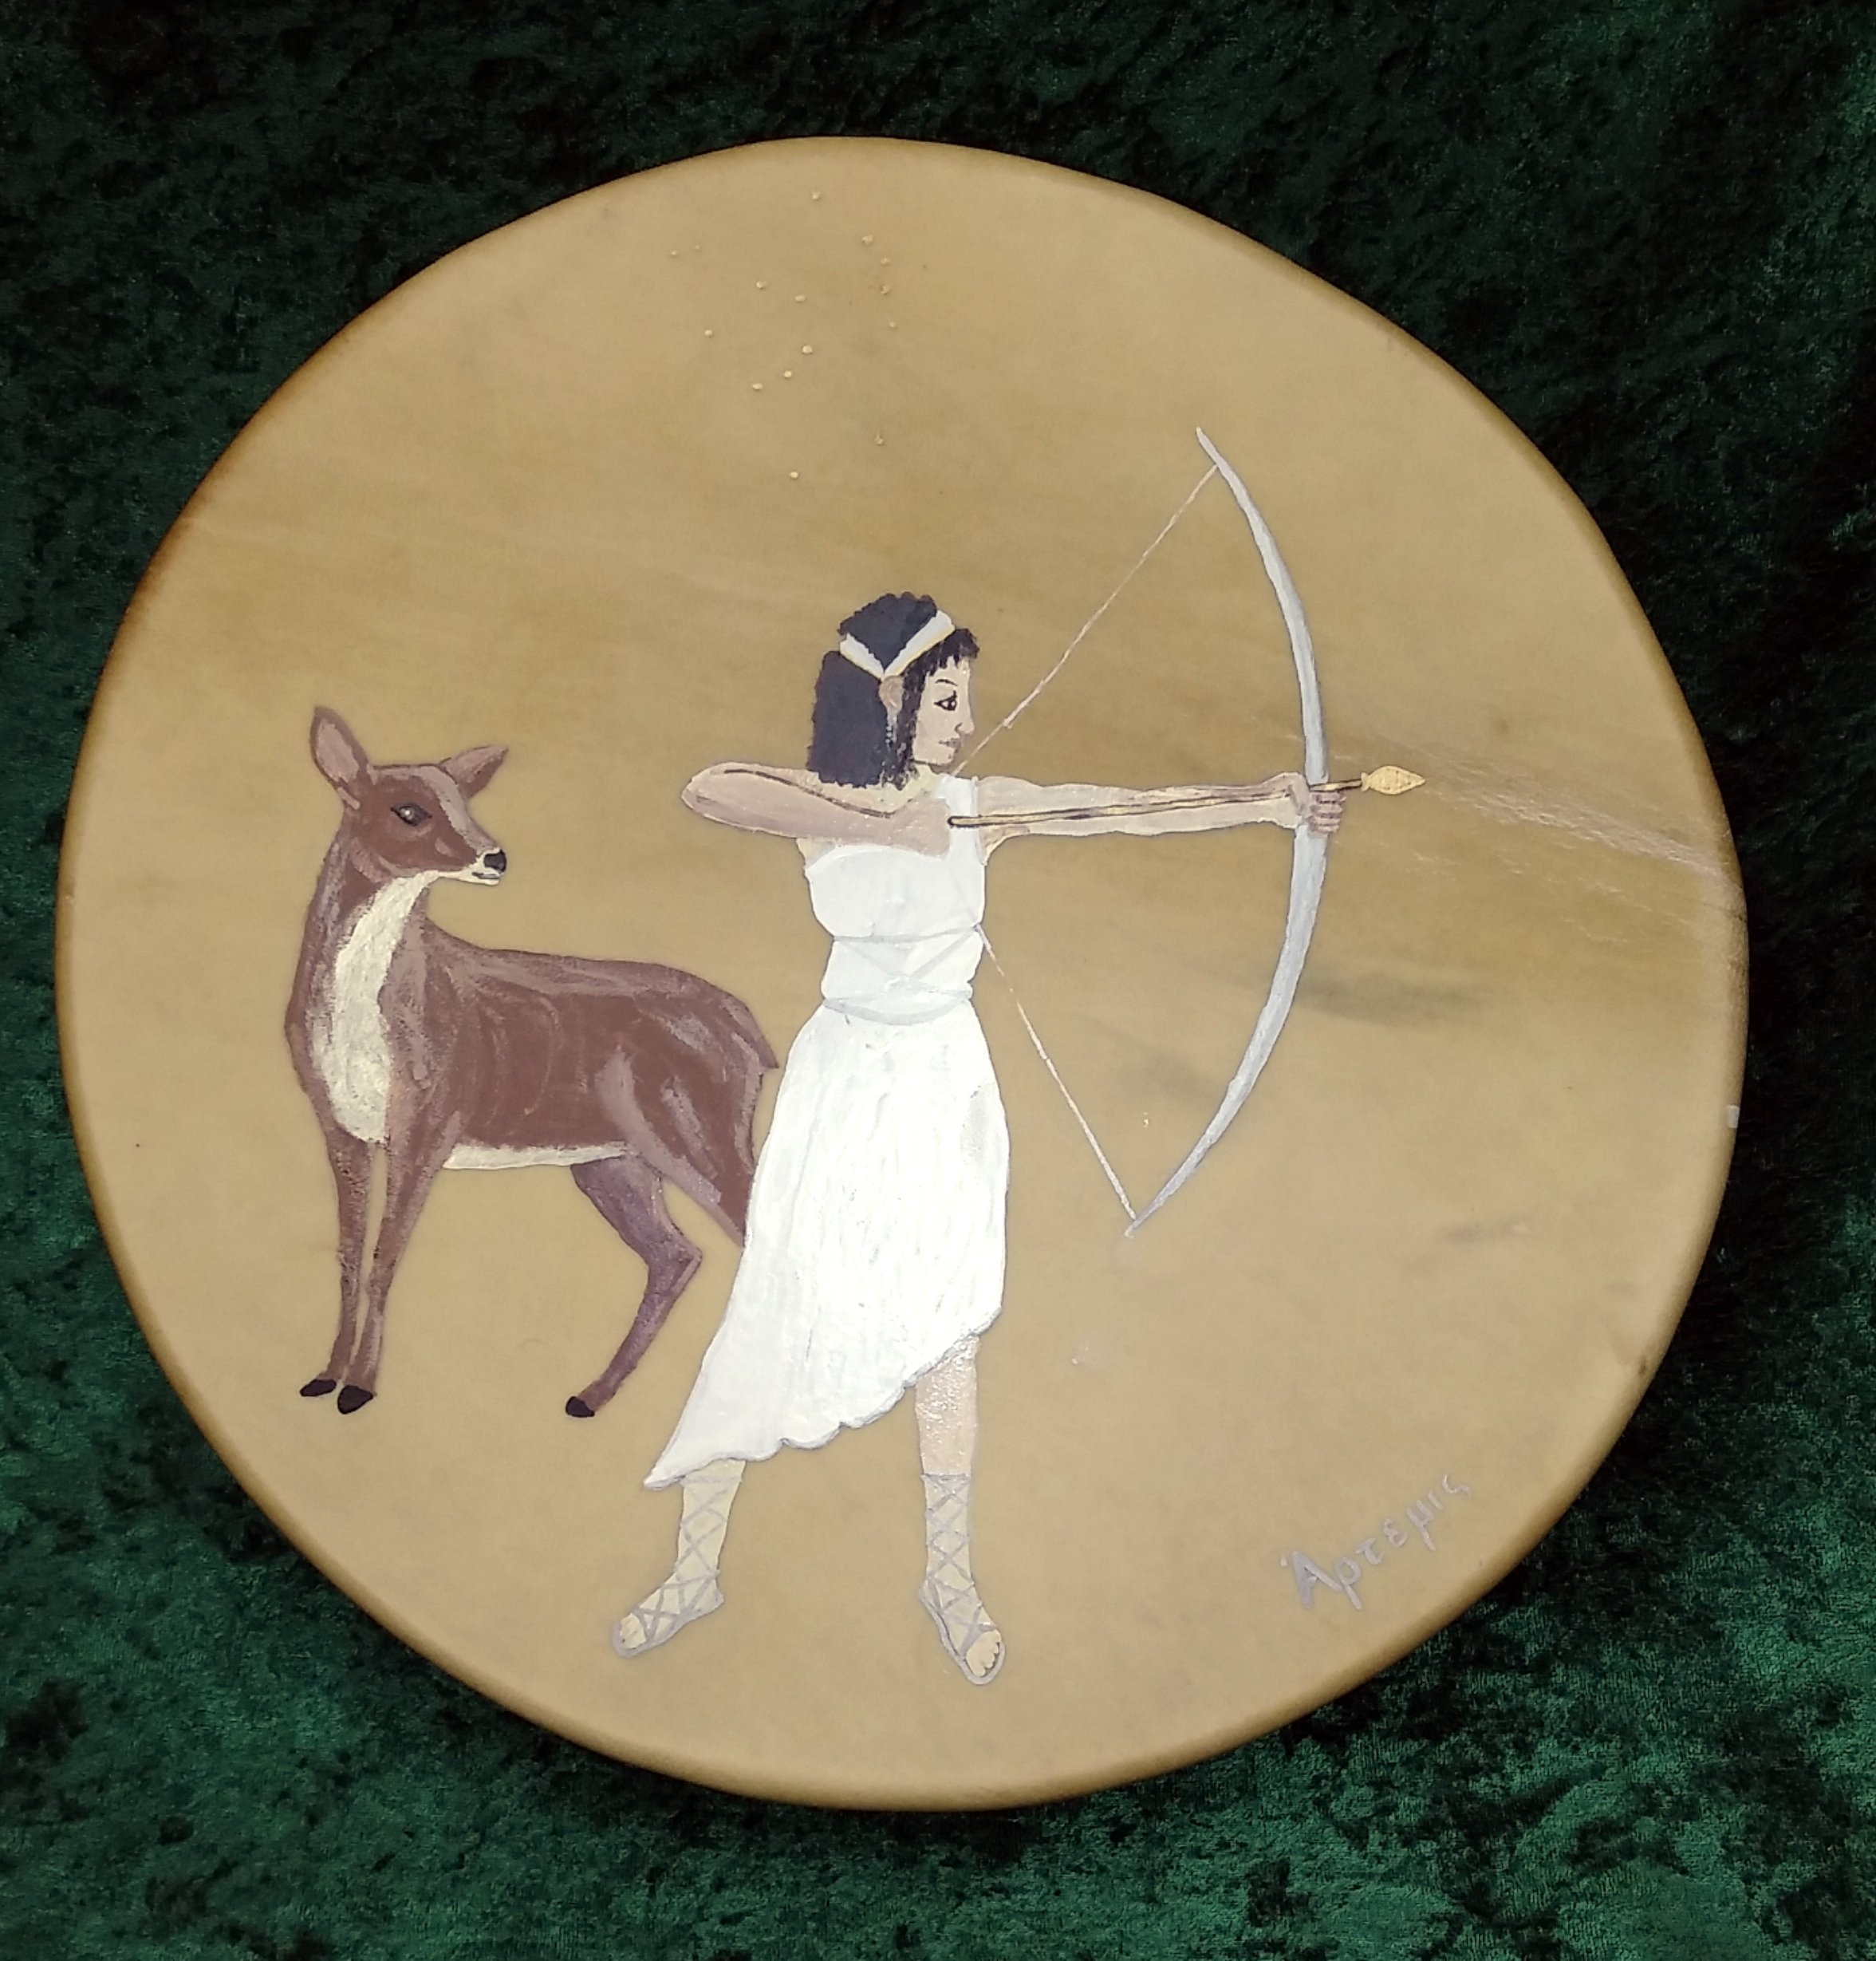
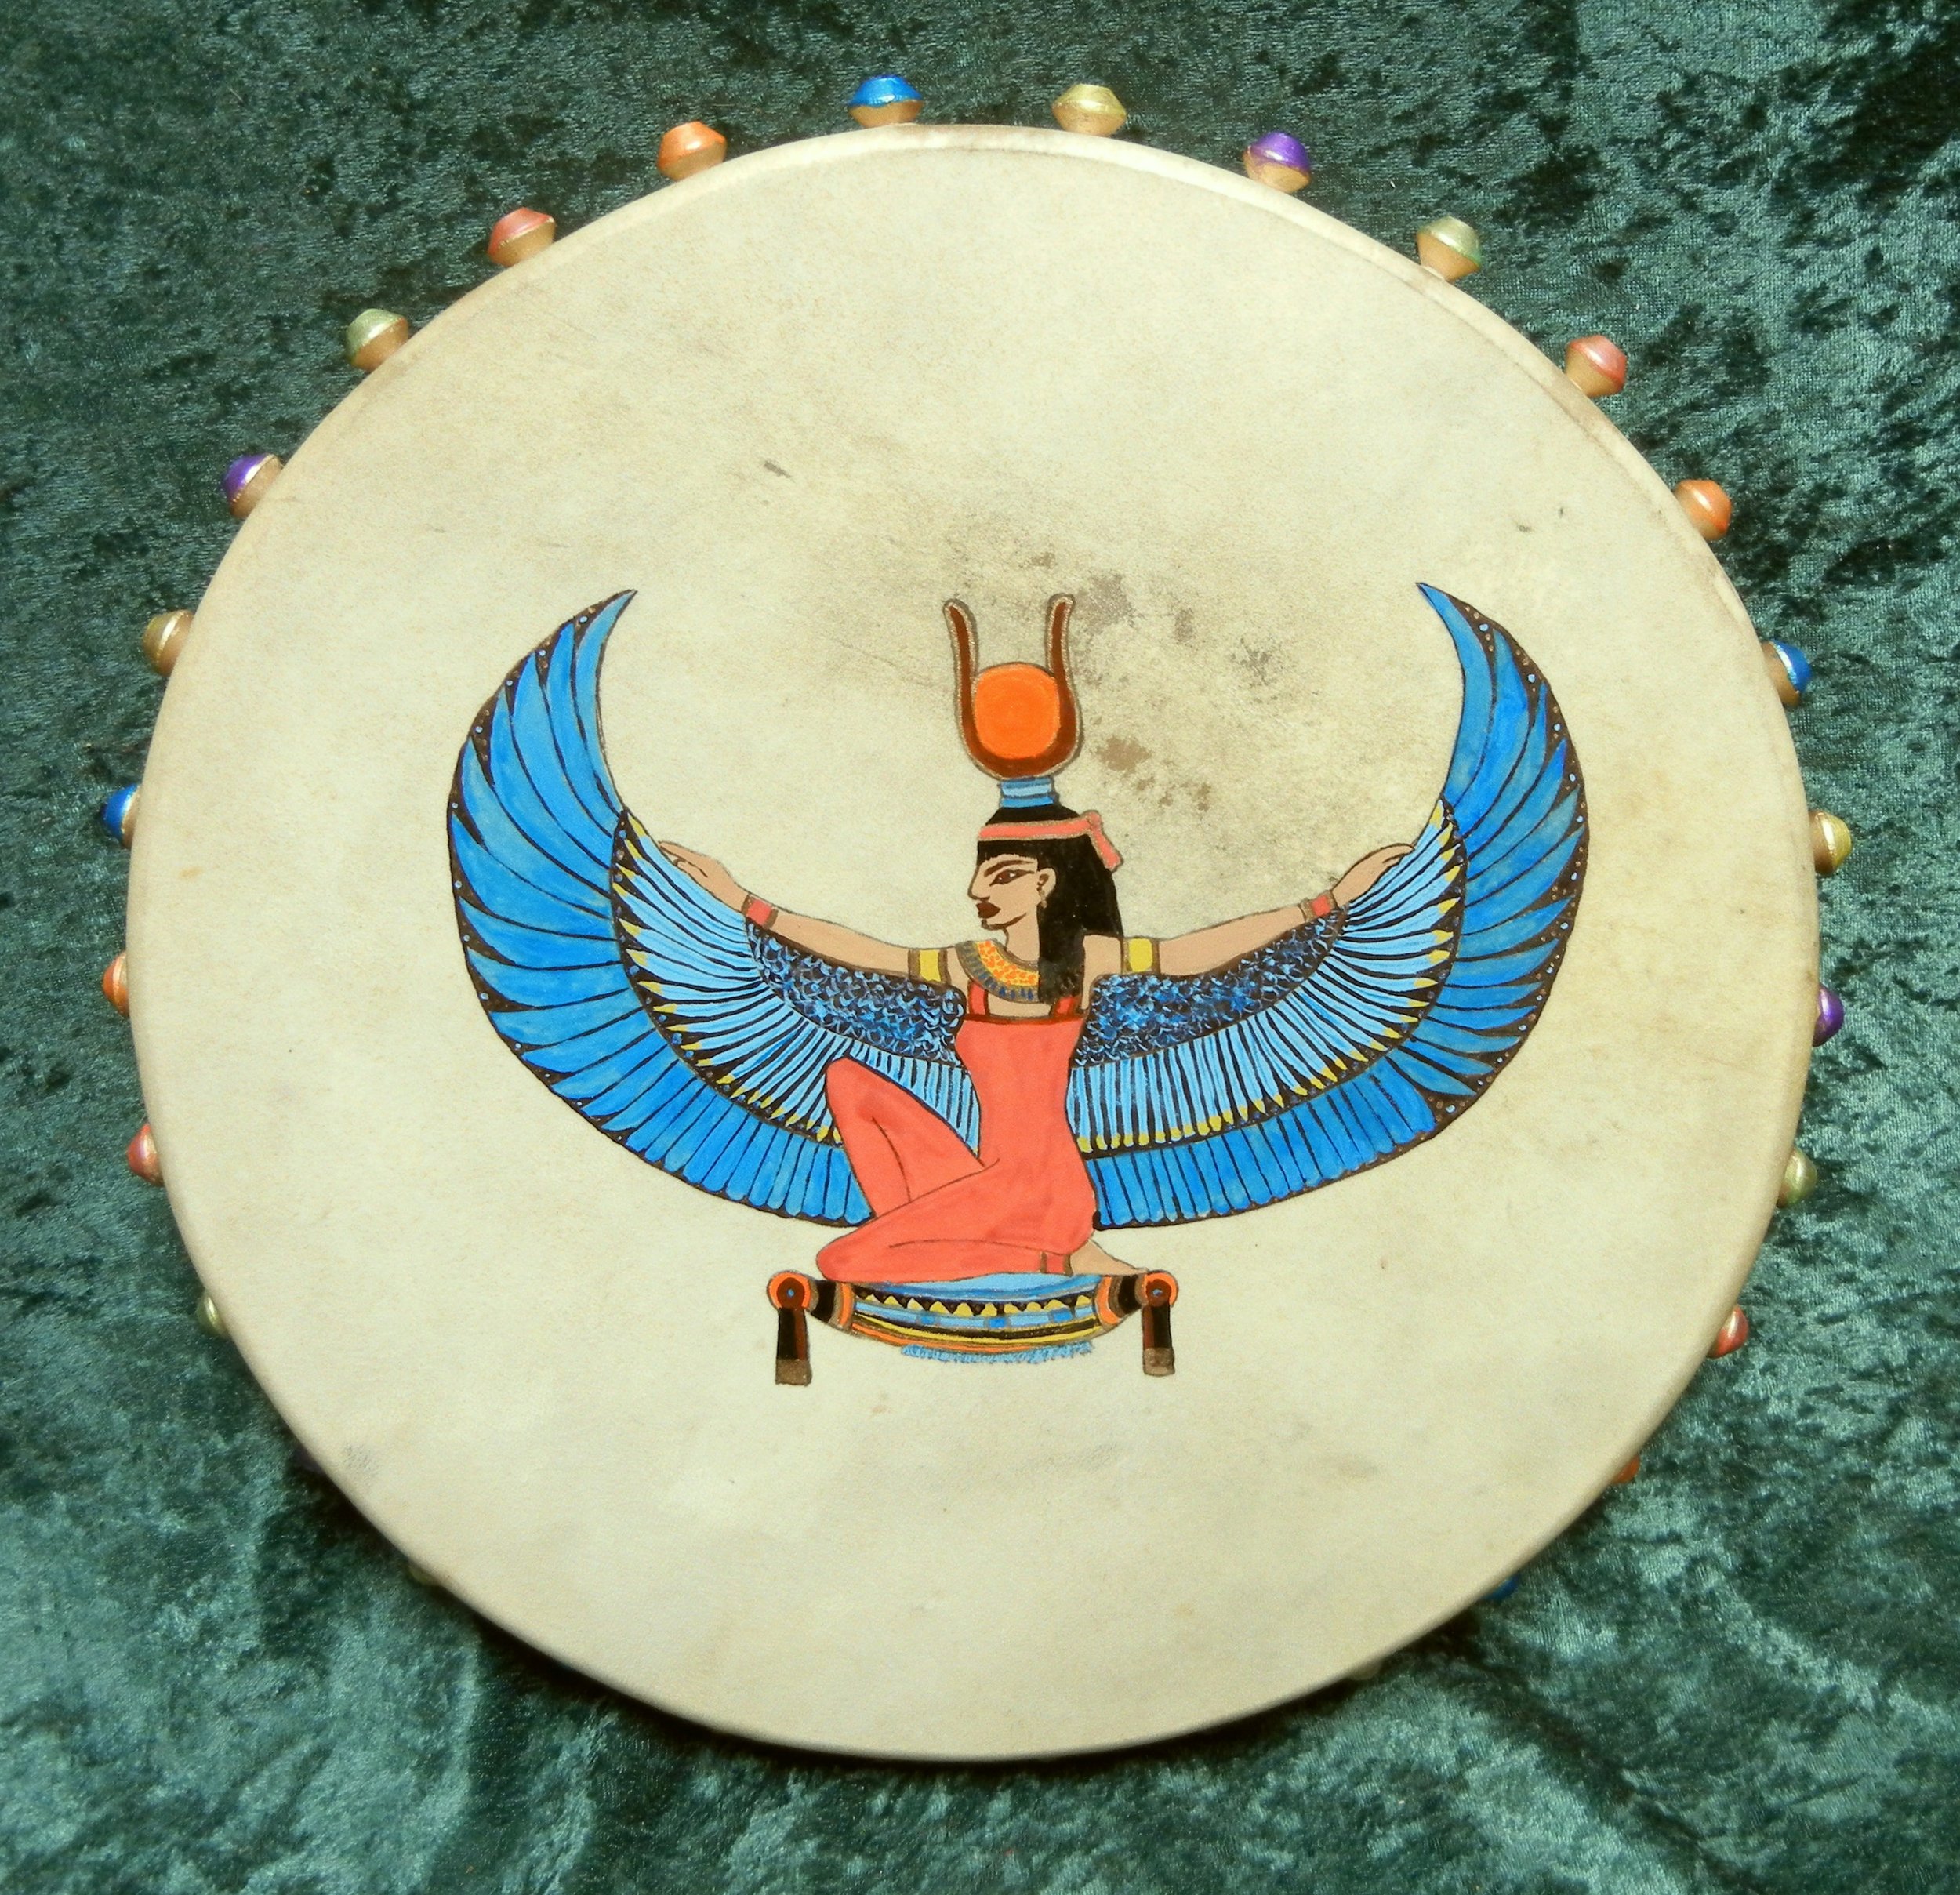
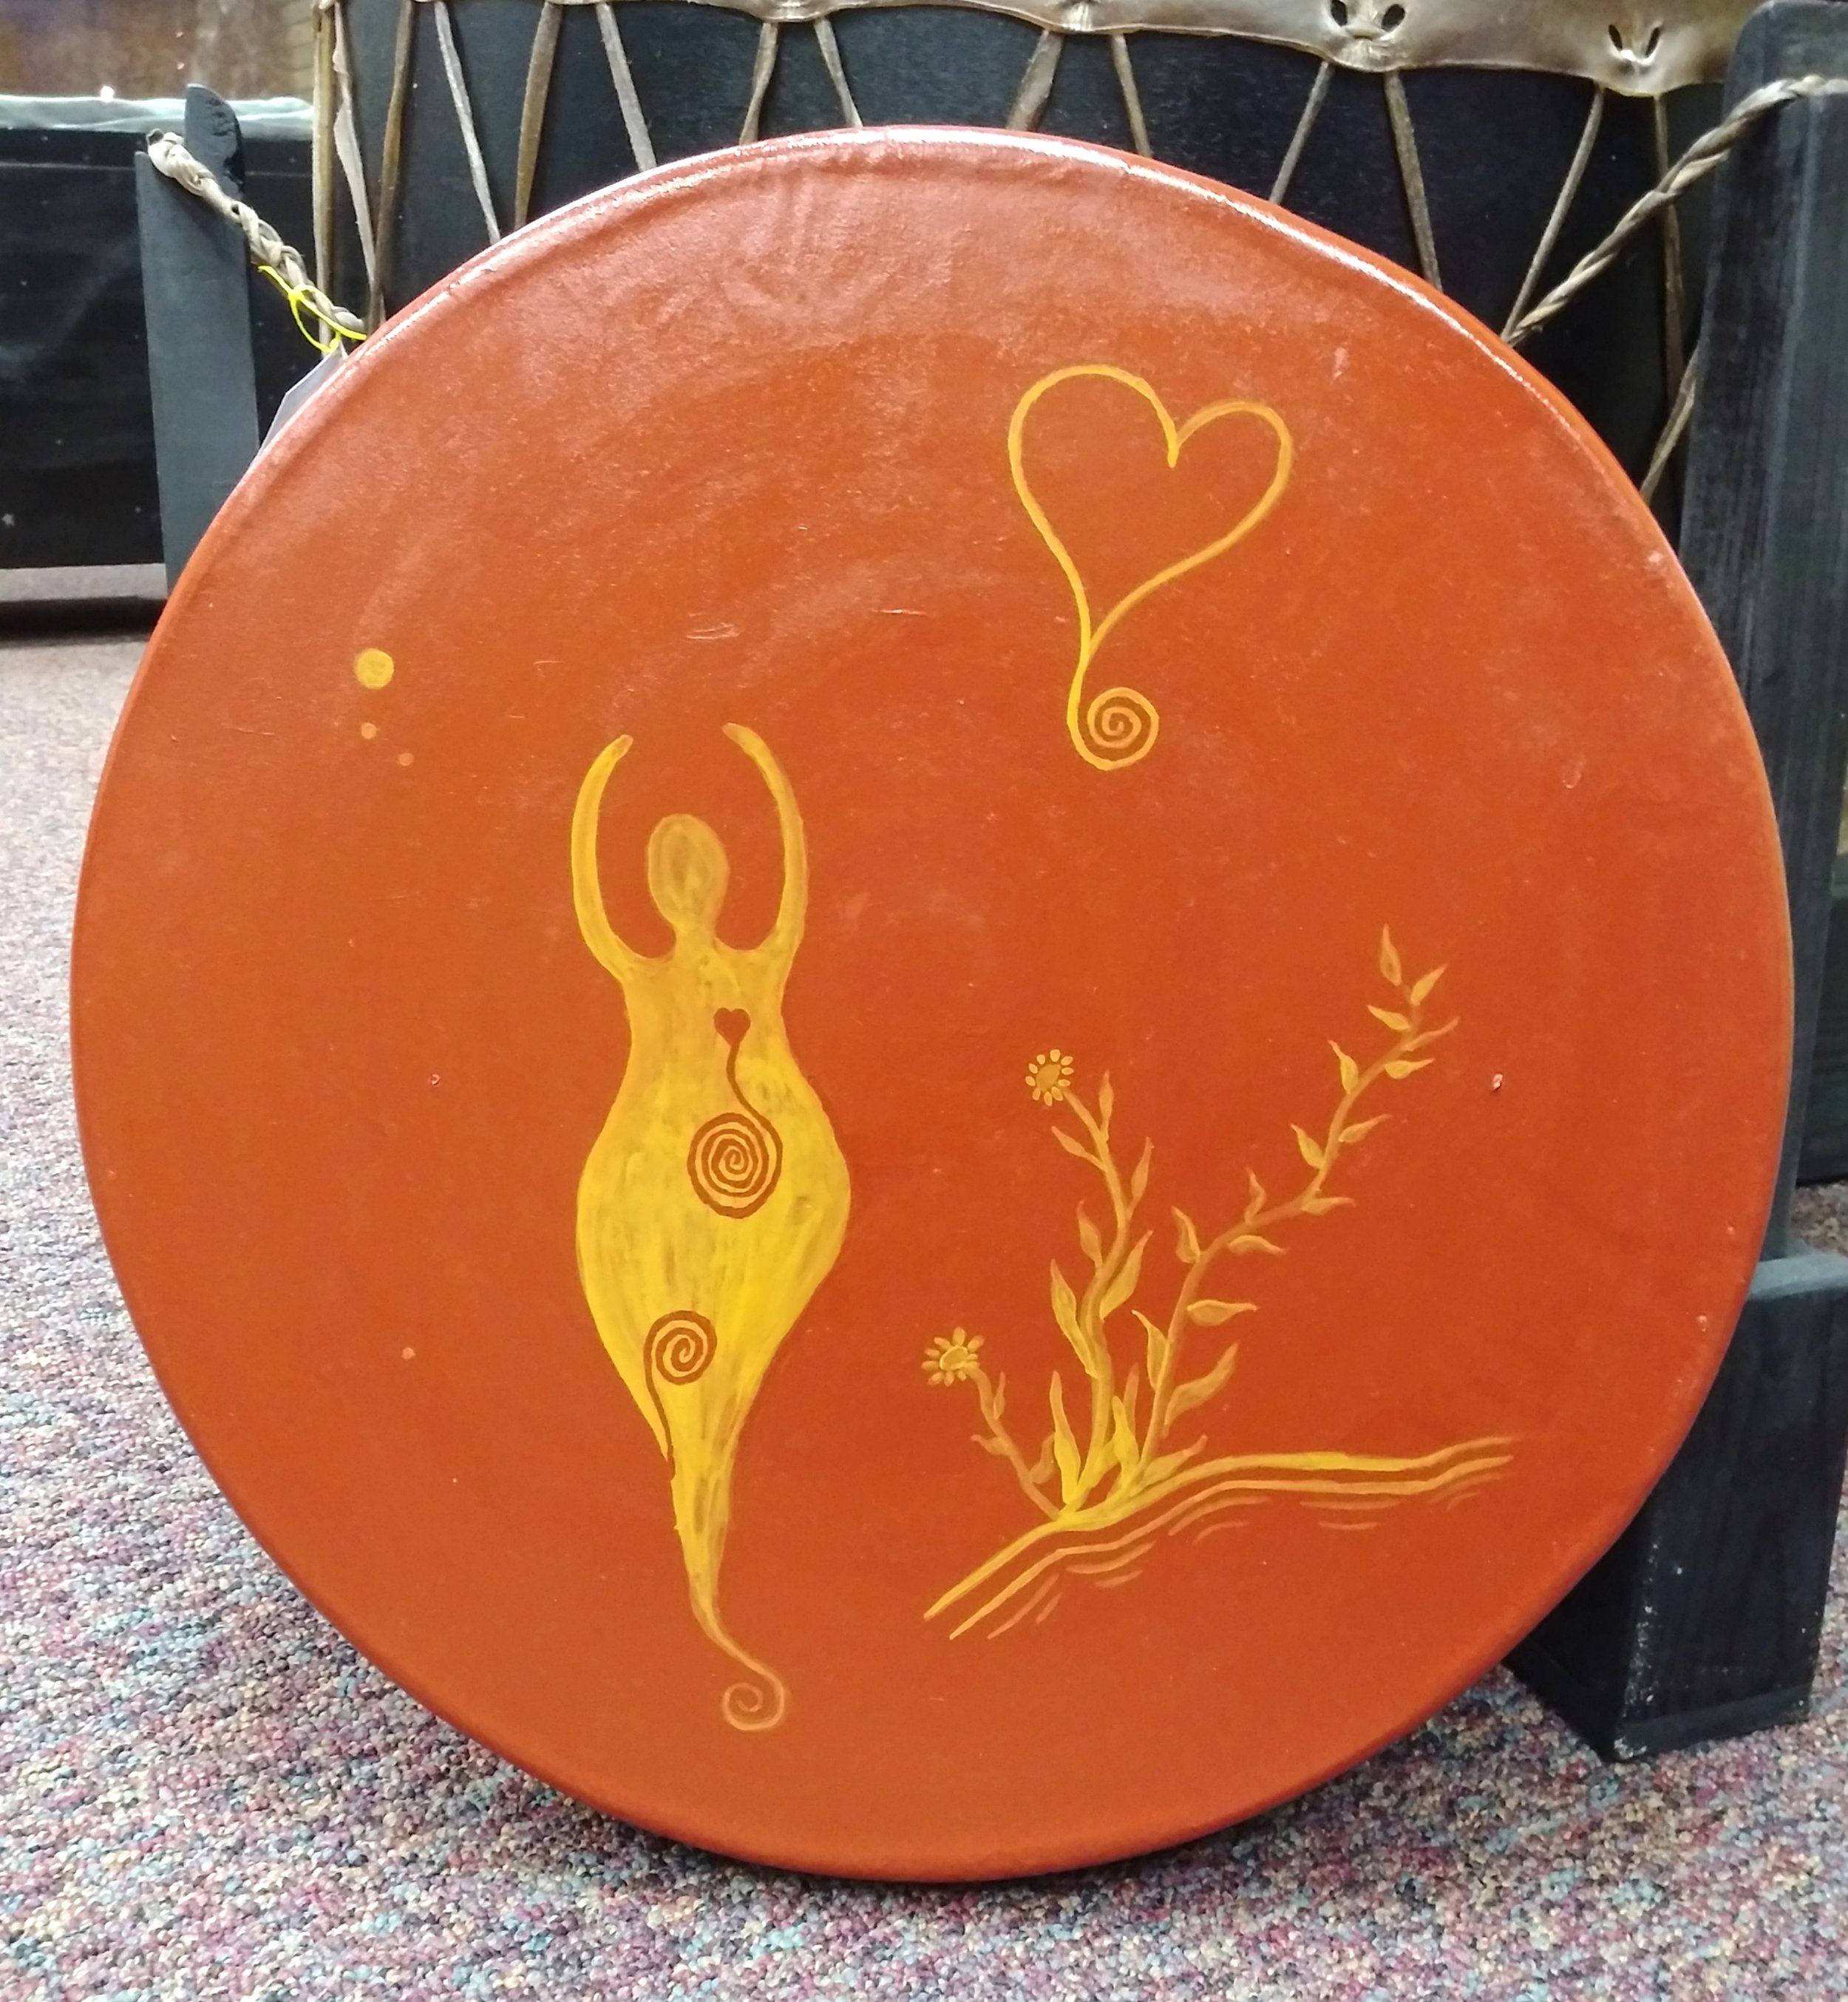
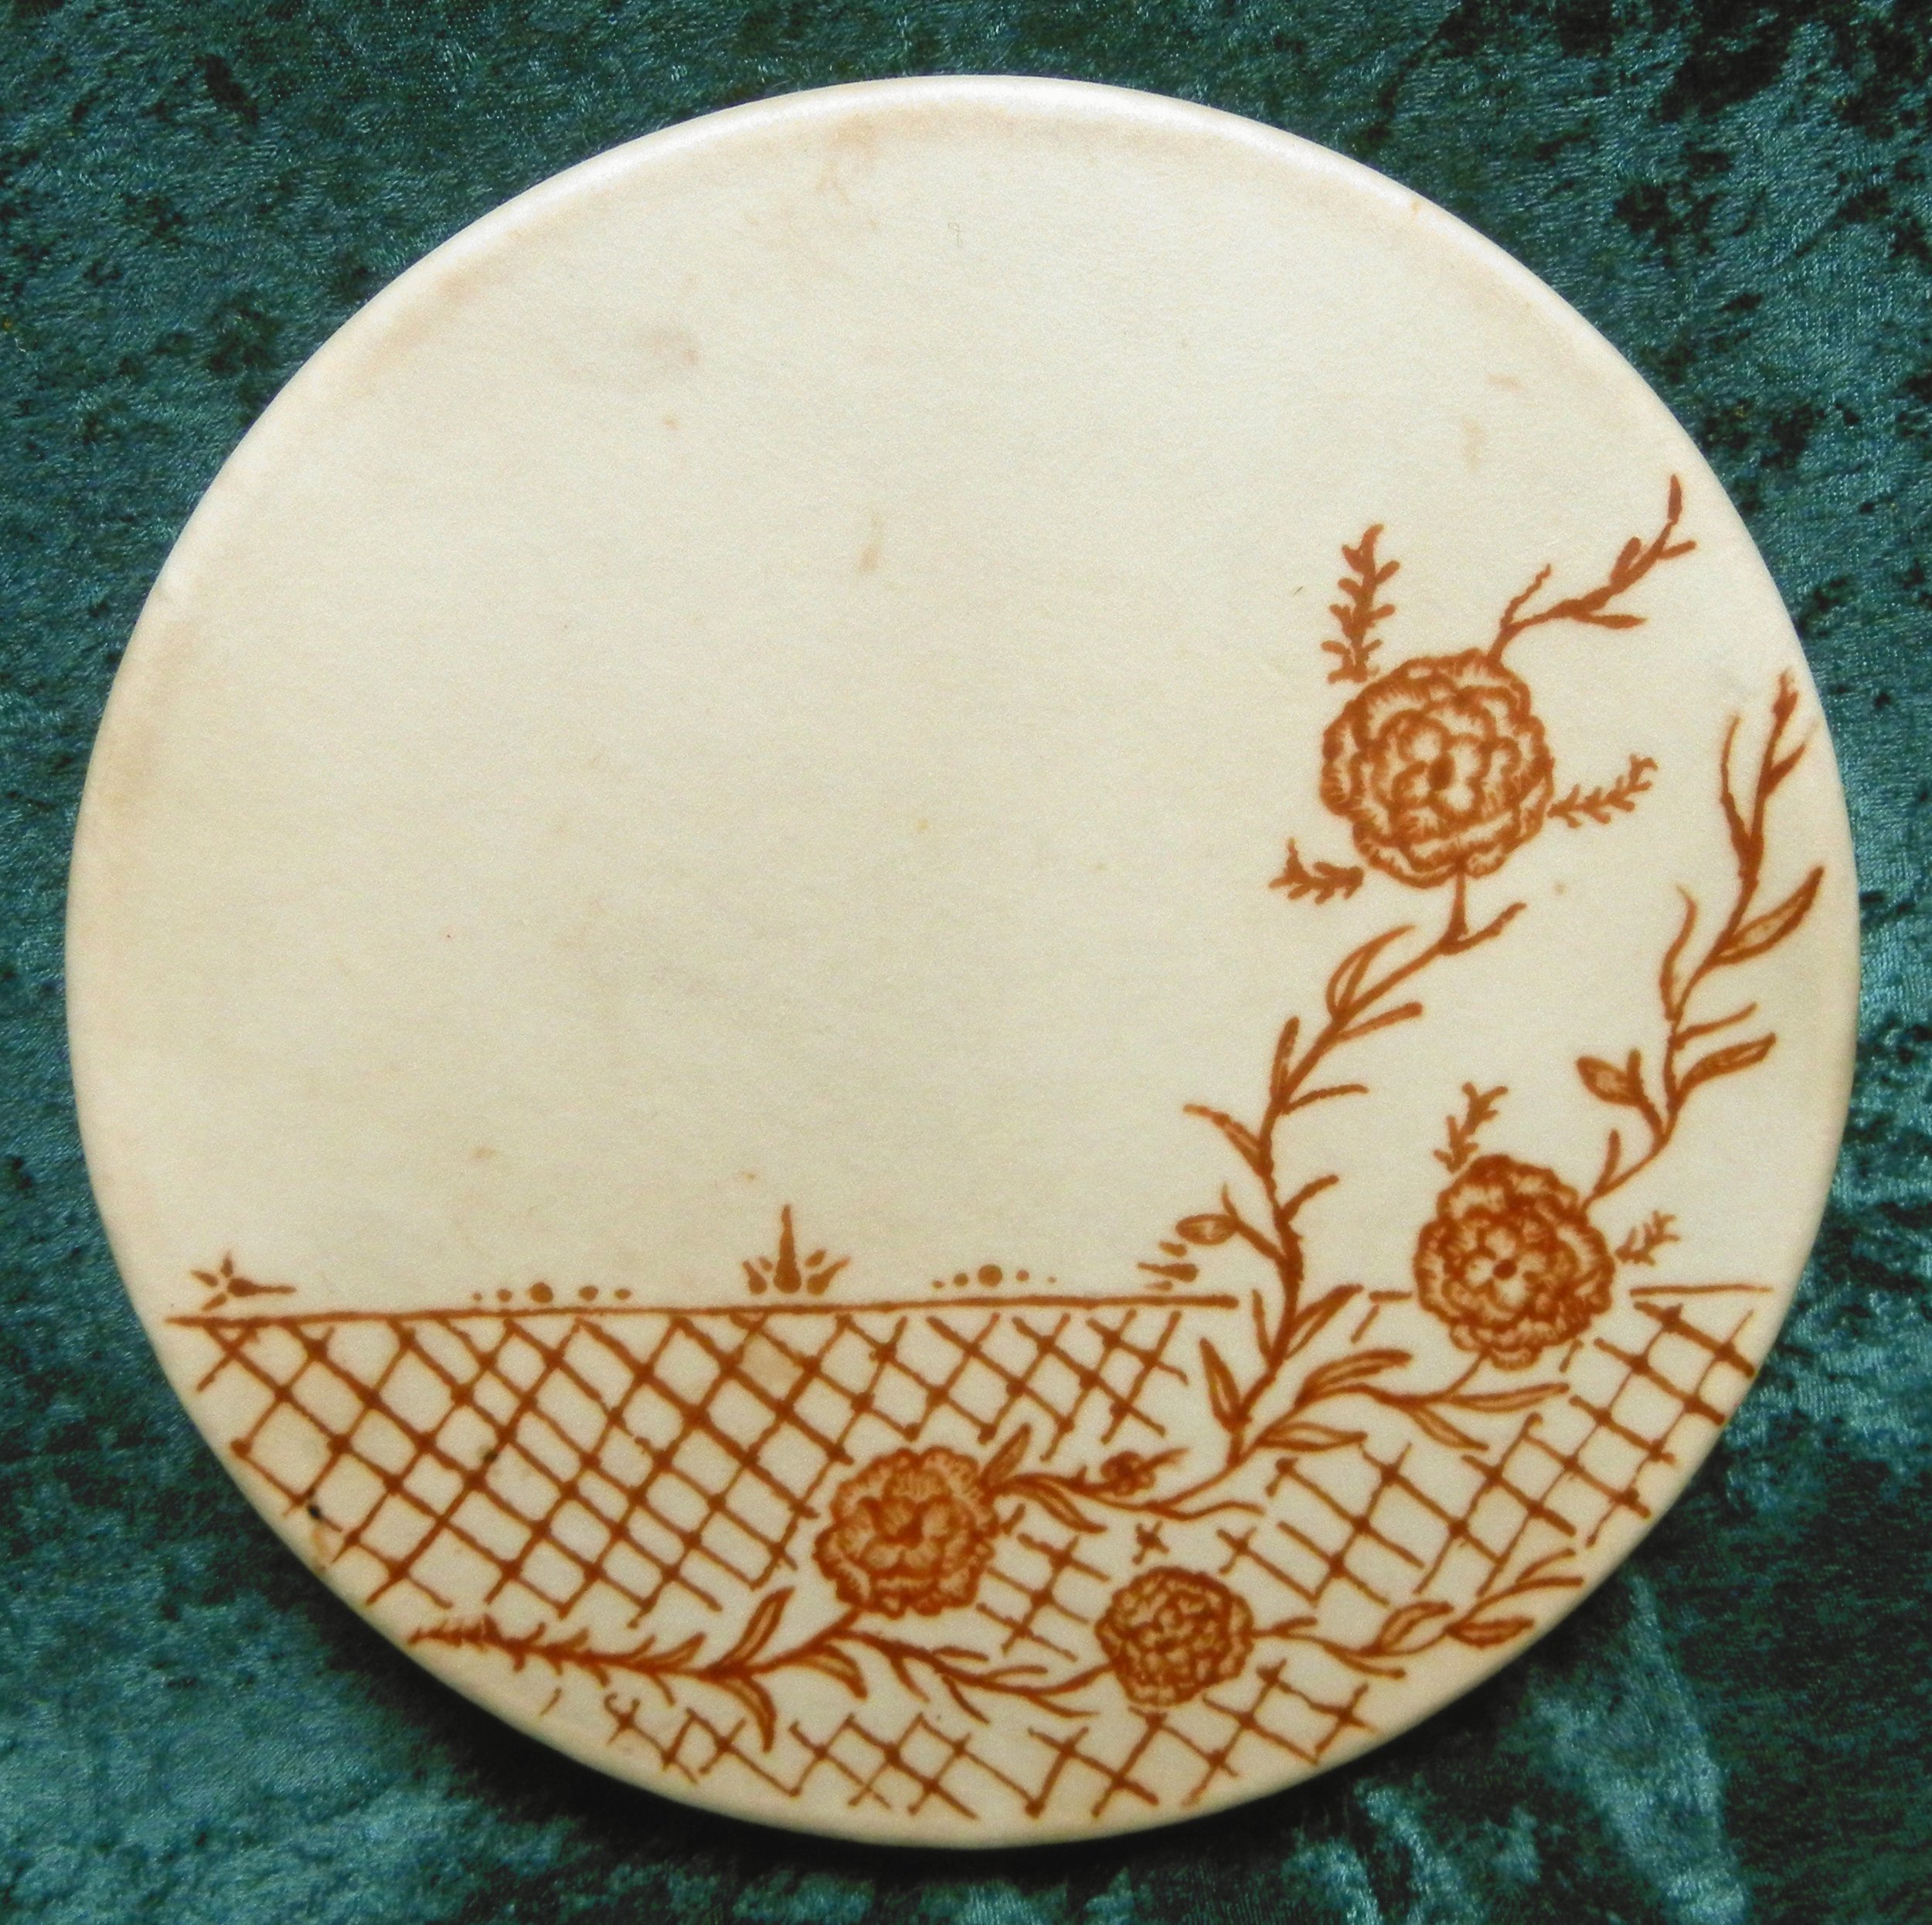
Below are a few examples painted with Testor’s Enamel by either Michelle or Merce, as well as the Red & Yellow Ochre priestess drum and an example of Henna.